 About us
 Payment & Shipping
 News
News
 Wholesale
 Contacts
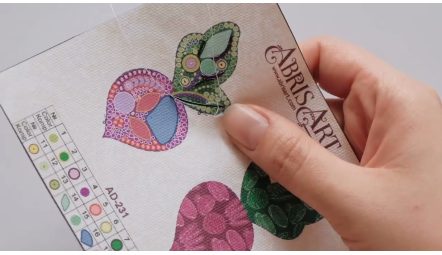
Embroider the art-canvas blank completely before cutting and assembling the jewellery. Shape, seam allowance and findings depend on the specific kit, so keep its printed assembly diagram beside you.
Videos in other languages: Українська · English · Deutsch · Polski — technika haftu · Español — técnica de bordado · Italiano — tecnica di ricamo · Français — technique de broderie
Step by step
- Check the kit contents and sort the beads by number.
- Embroider the entire marked area one bead at a time, keeping a consistent slant.
- Check the edge, tension and missed cells before cutting.
- Cut only on the line shown in the assembly diagram for your kit.
- Fit the backing, clasp or other findings in the order shown in the kit instructions.
What matters most
- Do not cut the canvas before the embroidery is complete.
- Avoid bulky knots on the back; they prevent the backing from lying flat.
- Bracelets, brooches and collars use different assemblies, so follow the diagram for your exact kit.
Frequently asked questions
When should I cut out the blank?
Only after the embroidery is complete and checked; correcting an edge becomes much harder after cutting.
Are all jewellery kits assembled the same way?
No. The backing, clasp and allowances depend on the product type and kit code.
Which instructions apply to my kit?
Use the video for the general process and the printed sheet in your kit for exact cutting lines and findings.