 About us
 Payment & Shipping
 News
News
 Wholesale
 Contacts
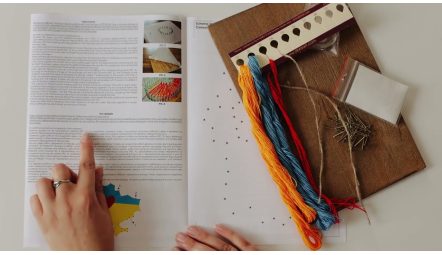
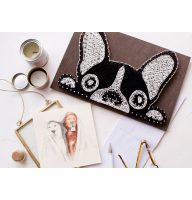
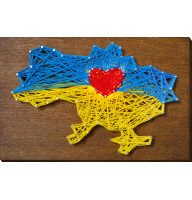
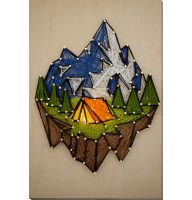
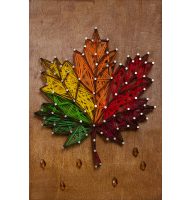
Fix the paper template to the wooden base, hammer the nails around the outline to an even height, remove the paper and wind the thread between the nails following the chart. Keep steady tension without bending the nails.
Step by step
- Place the board on a protected, stable surface and secure the template squarely.
- Hammer nails at the marked points, leaving an even height above the board.
- Remove the paper carefully while supporting the nails.
- Tie the thread to the starting nail with a double knot and follow the order on the chart.
- After the final pass, tie off the thread, trim the tail and check the pattern is even.
What matters most
- You will need a small hammer and a work surface that is protected from dents.
- Use short vertical taps so the nails do not lean.
- Too much tension can bend a nail or snap the thread.
Frequently asked questions
What else do I need for a string art kit?
A small hammer and a stable work surface protected from dents.
How deep should the nails go?
Deep enough to hold firmly while remaining at an even height; use the video and kit template as your reference.
What if a nail starts to lean?
Release the thread tension, straighten the nail with careful vertical taps, and then continue.